Sign In / Sign Up
 Orders
 Product Keys
 Downloads

 Go to notfound
Activating RDS CALs on Windows Server 2019: A Step-by-Step Guide
Install the Remote Desktop Licensing role service and Remote Desktop Session Host by following these steps:
Setting up Remote Desktop Licensing Role.
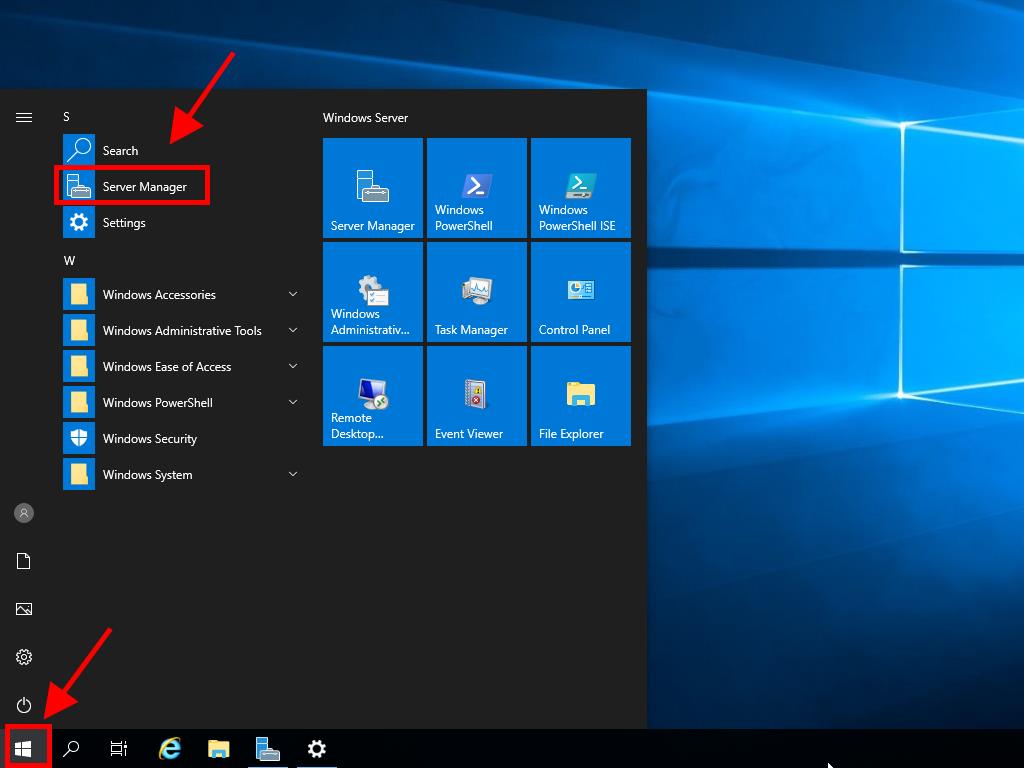
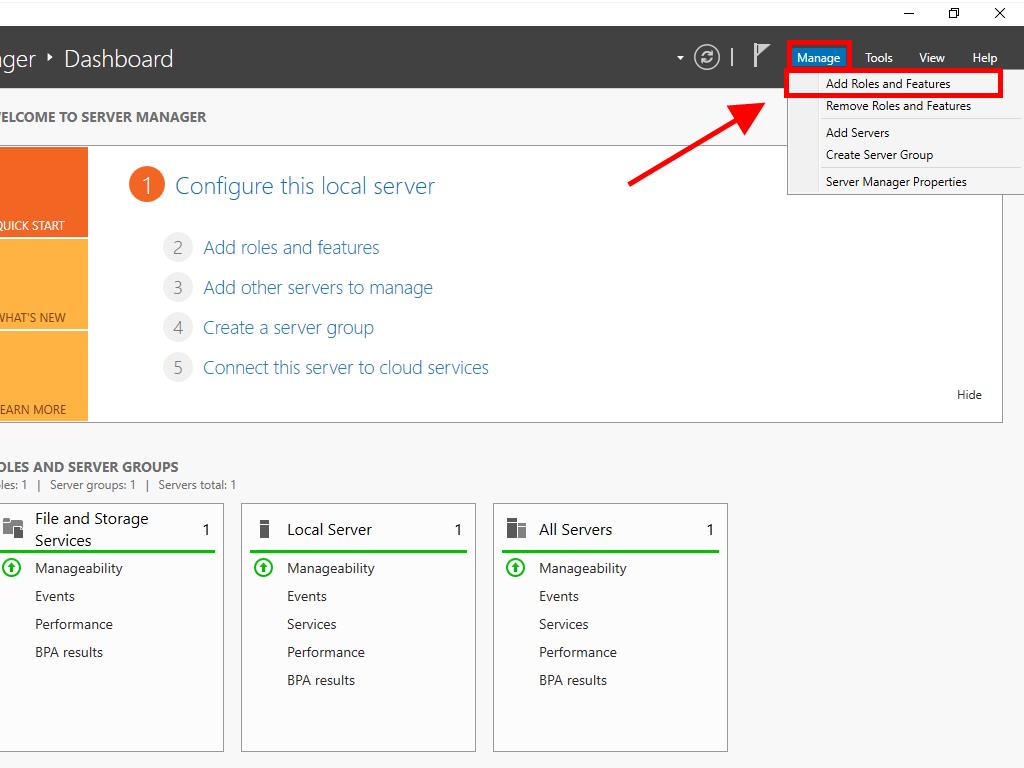
- Open the Server Manager by clicking on the Windows button, then select Server Manager.
- Go to the top right corner, select Manage, then click on Add Roles and Features.
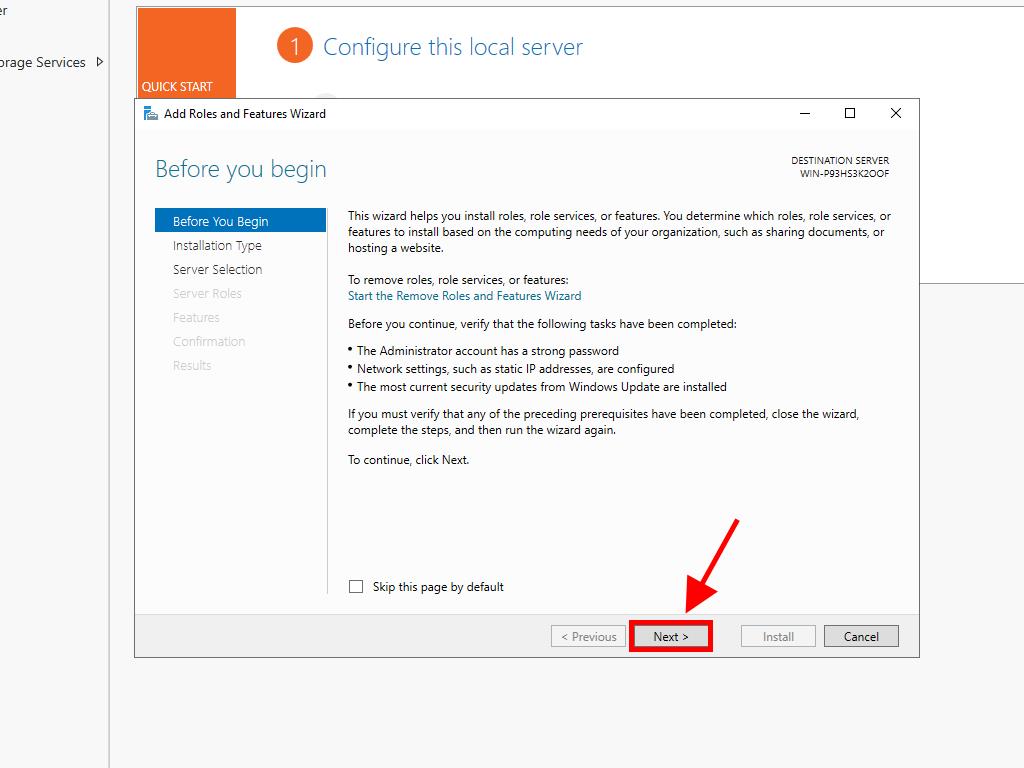
- In the Add Roles and Features Wizard, proceed by clicking Next.
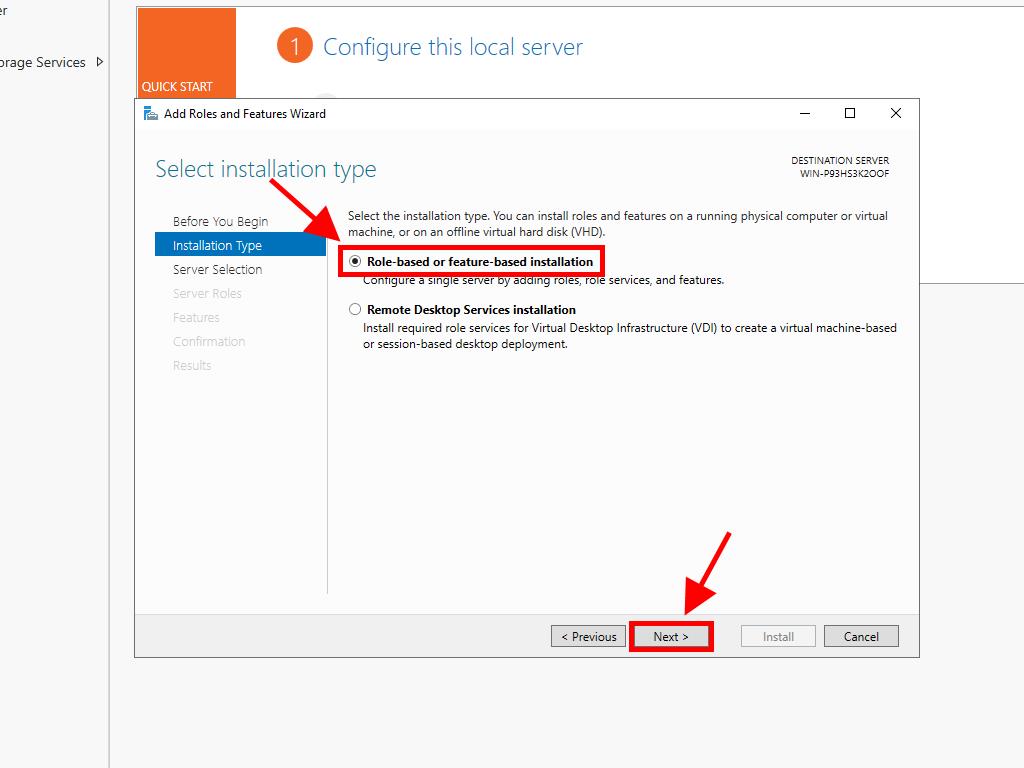
- Select Role-based or feature-based installation and click Next.
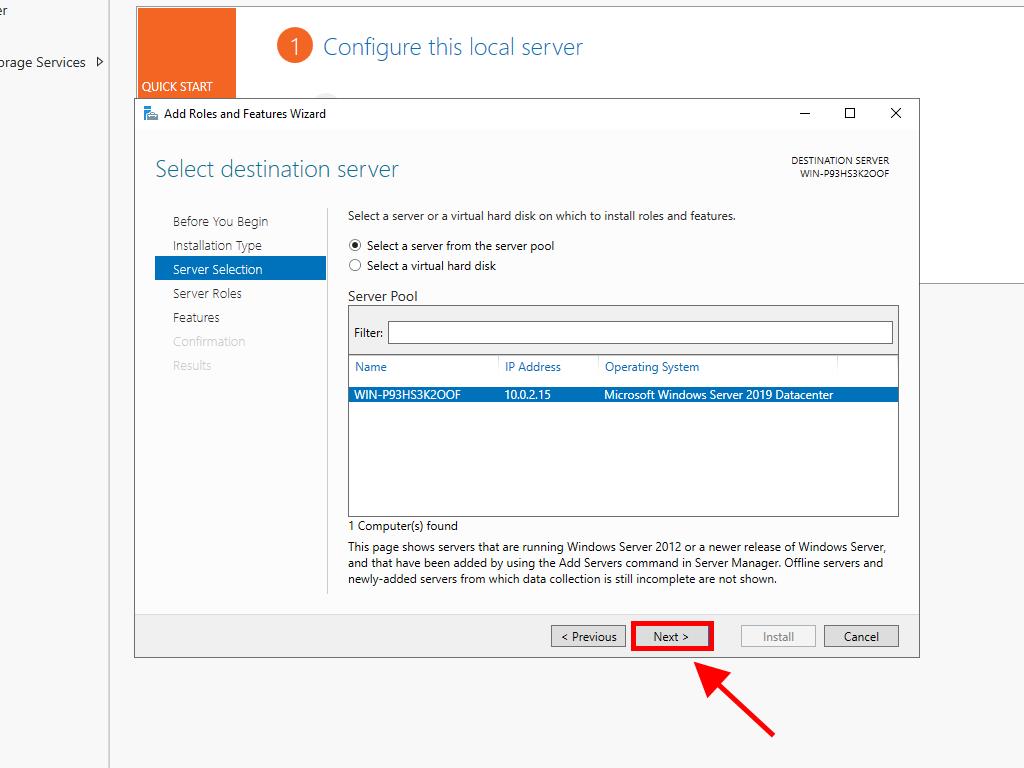
- Select the server for role installation, then click Next.
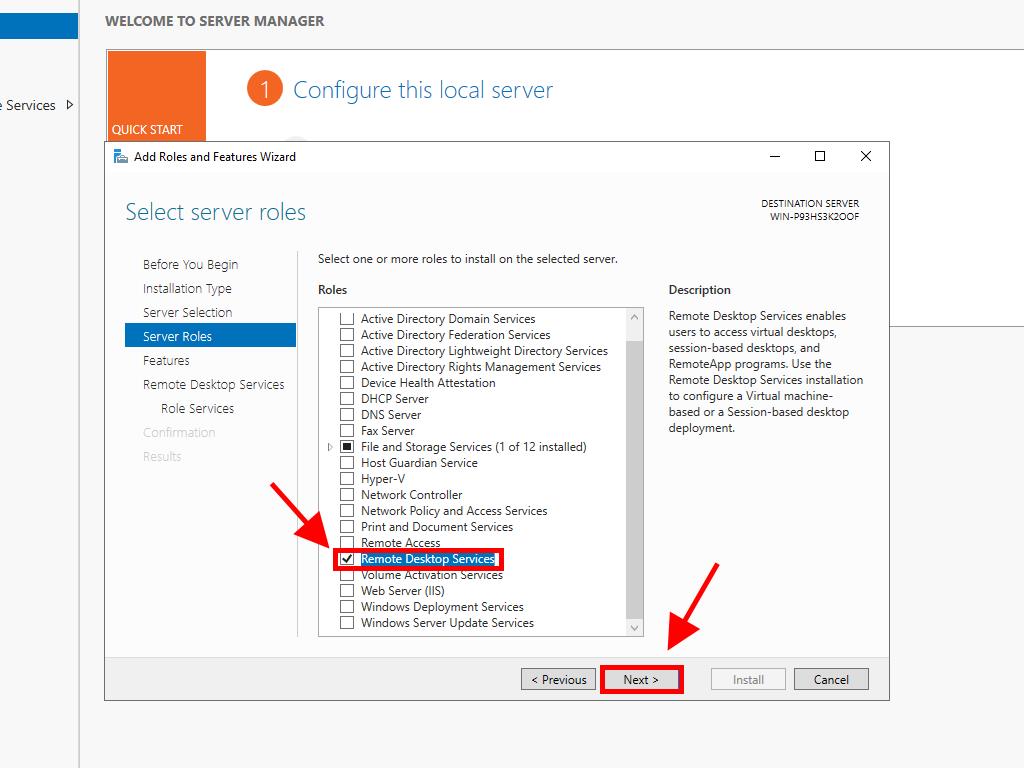
- On the Select Server Roles page, tick the Remote Desktop Services box and hit Next.
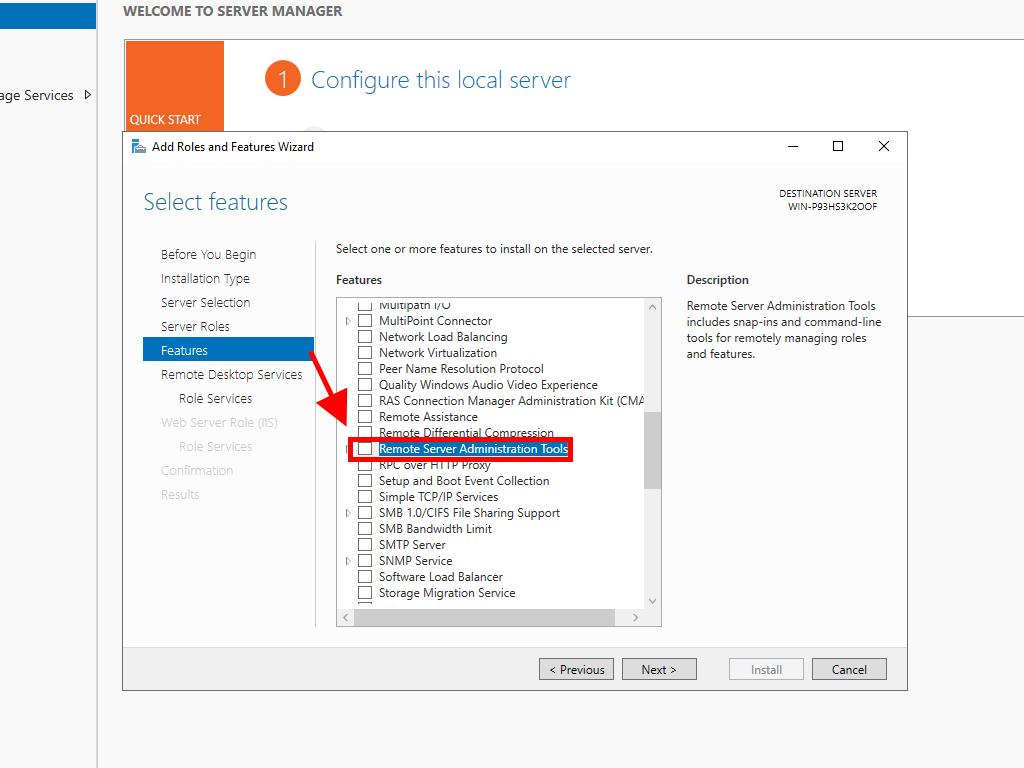
- Check the box for Remote Server Administration Tools on the Select Features page.
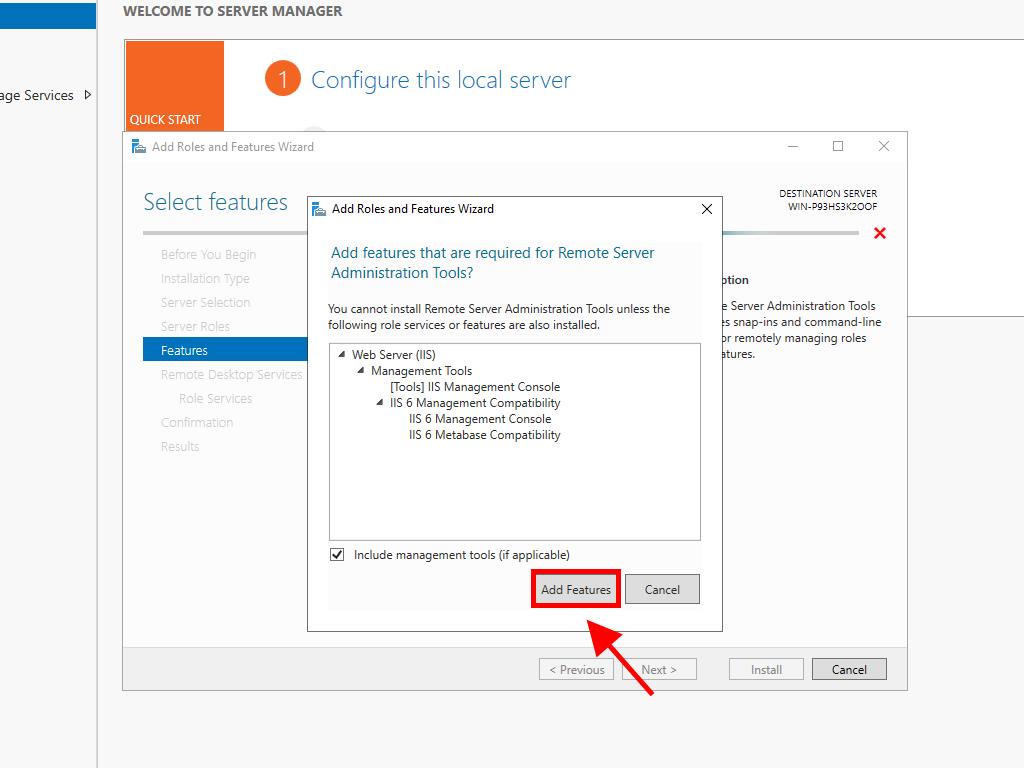
- Proceed by clicking Add Features.
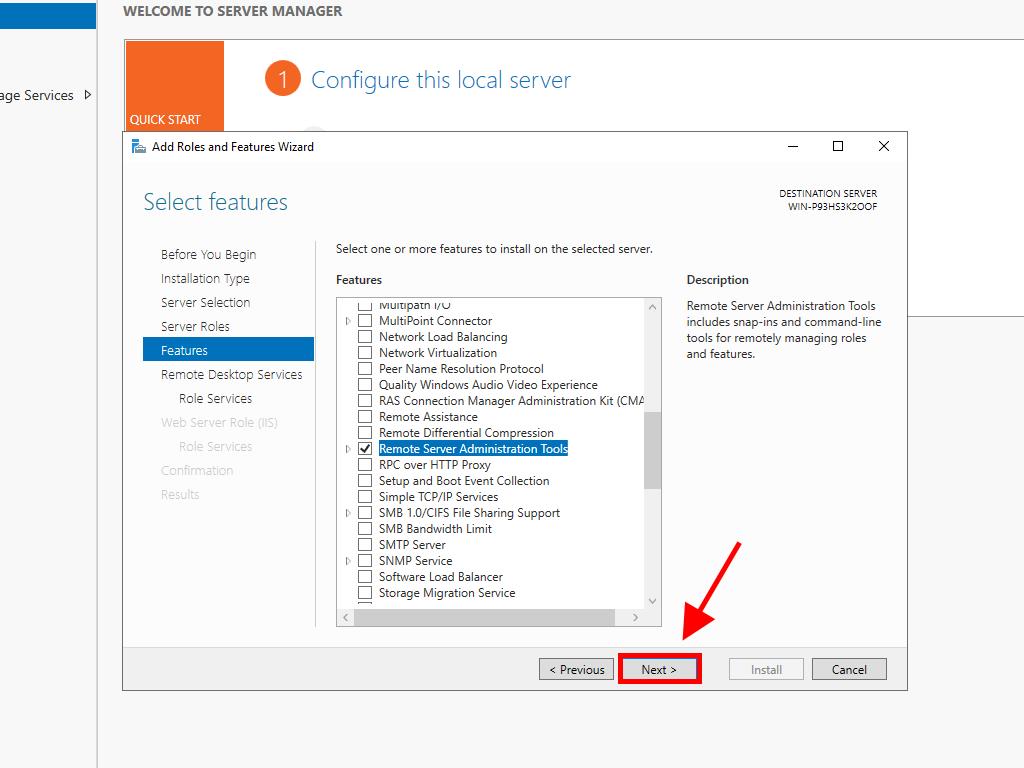
- Click Next to continue.
- Click Next once more.
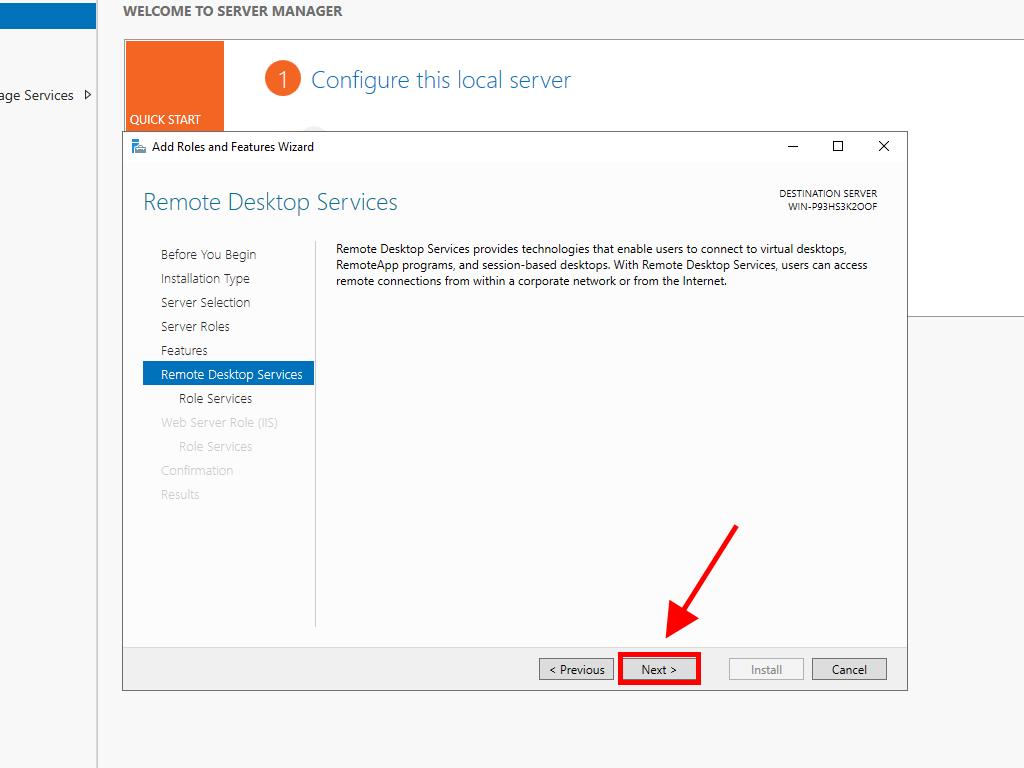
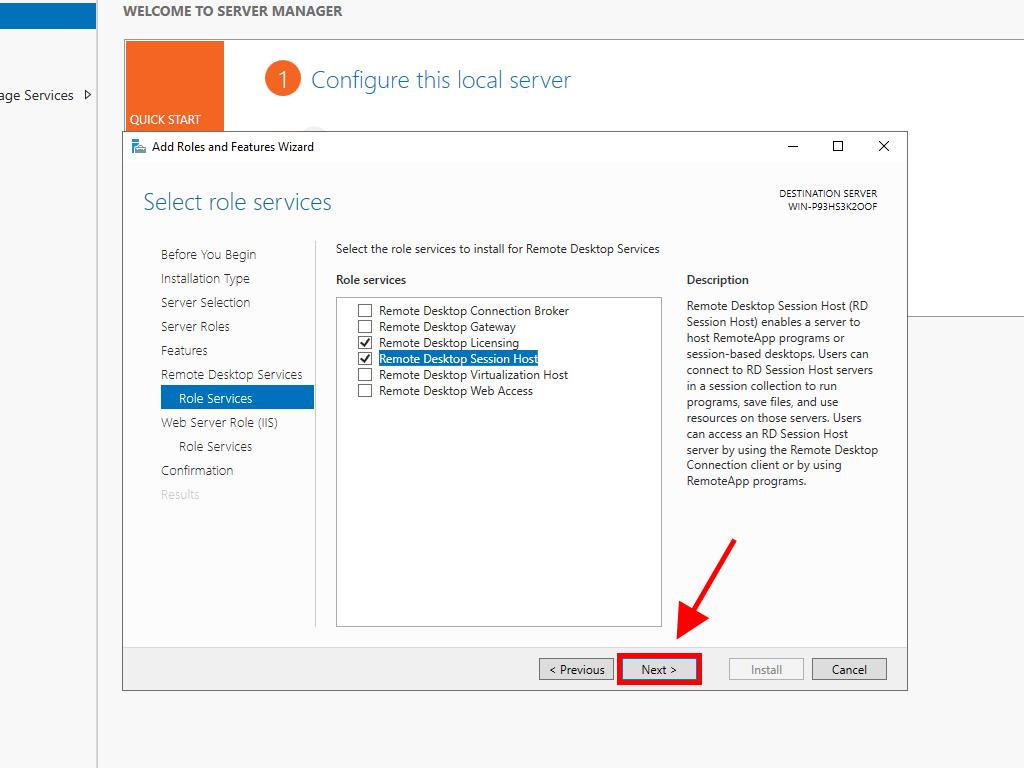
- In the next screen, check the boxes for Remote Desktop Licensing Management and Remote Desktop Session Host, then click Next.
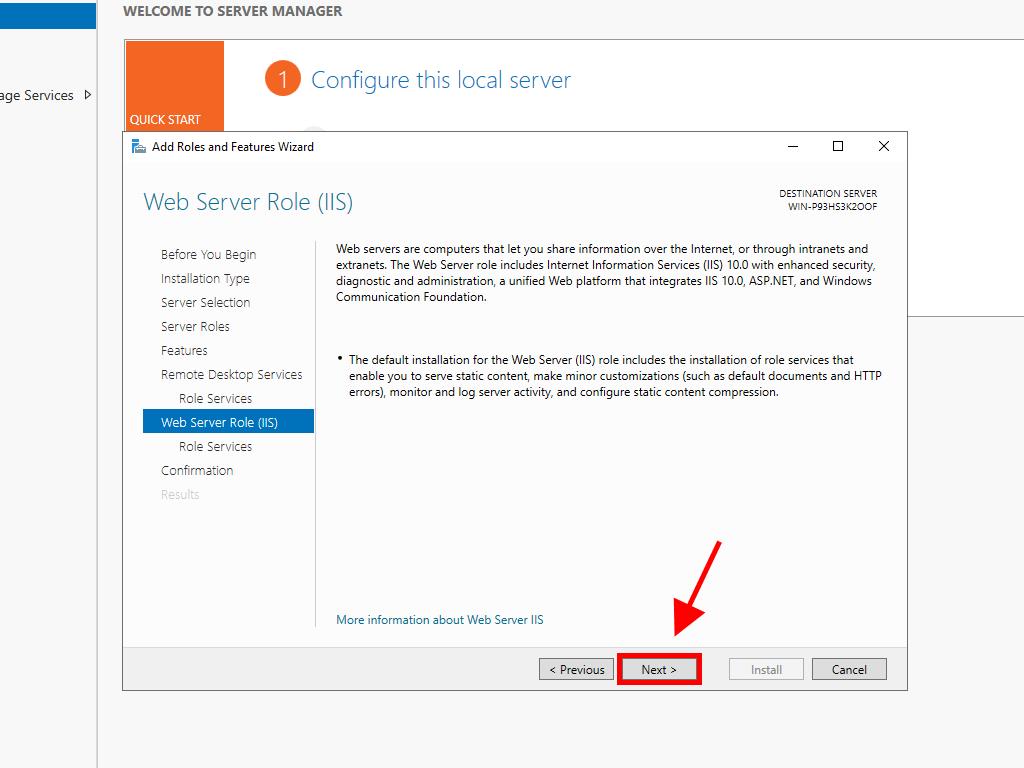
- For the Web Server role, simply click Next.
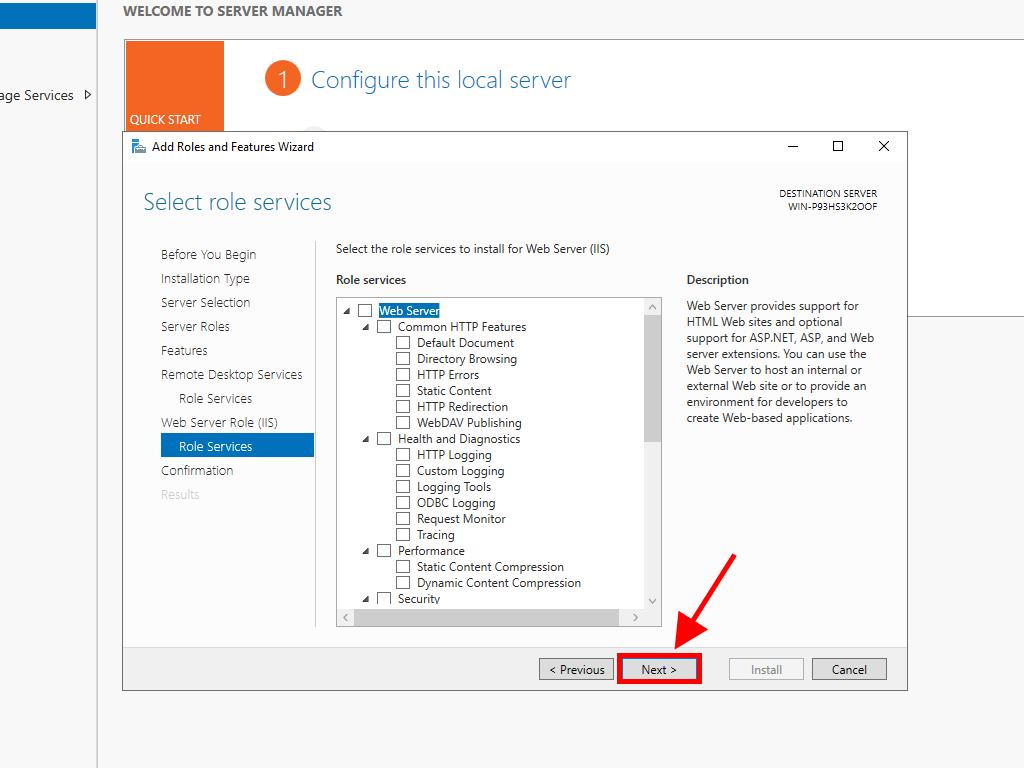
- On the Select Role Services page, hit Next.
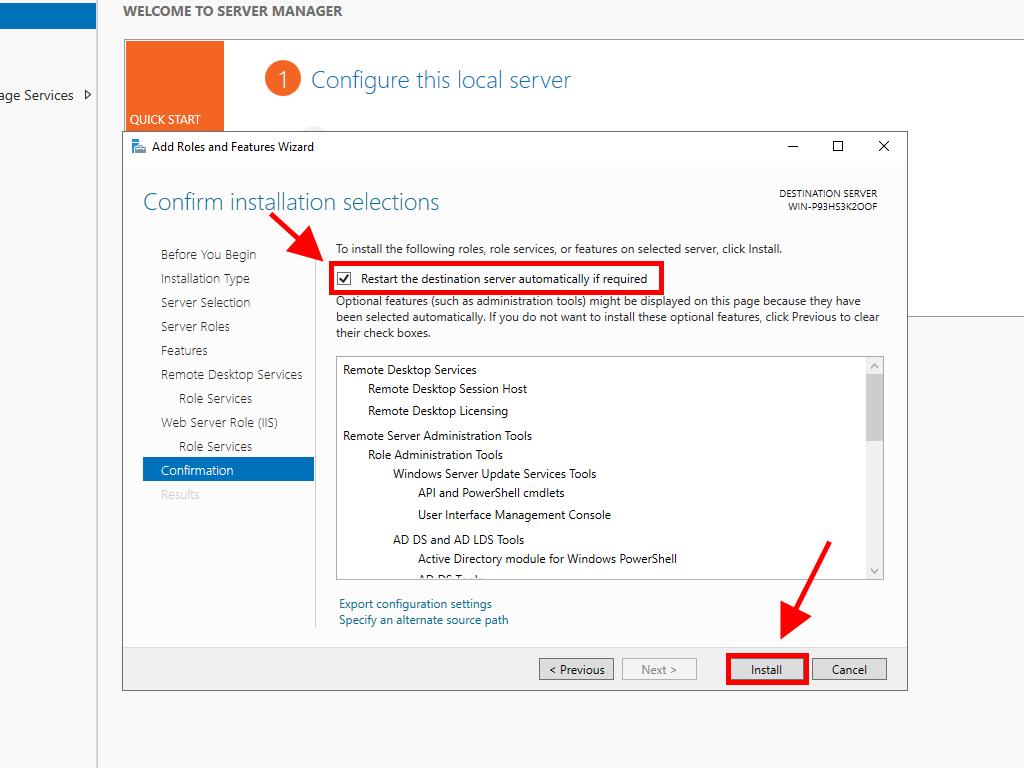
- In the following screen, select Automatically Restart the Server, then click Install. Wait for the installation to complete.
- Once the installation is done, proceed with the next step to configure your remote desktop service.
Activating the Licensing Server
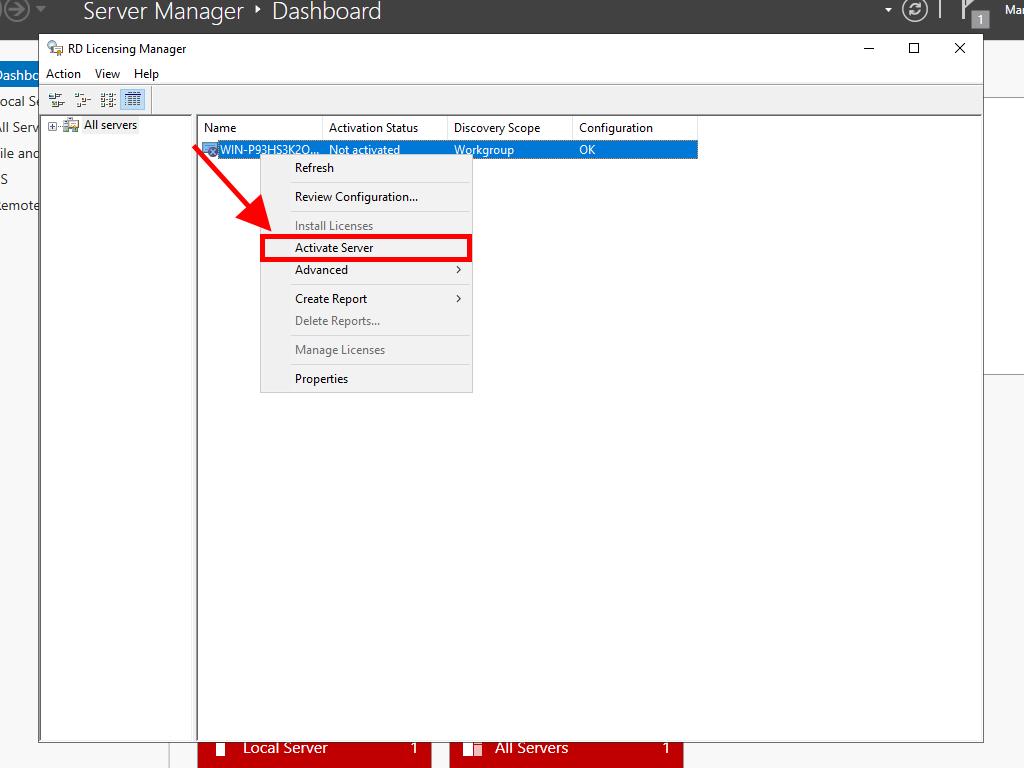
- From the top right corner, select Tools, then go to Remote Desktop Services and click Remote Desktop Licensing Manager.
- Right-click on the server, then choose Activate Server.
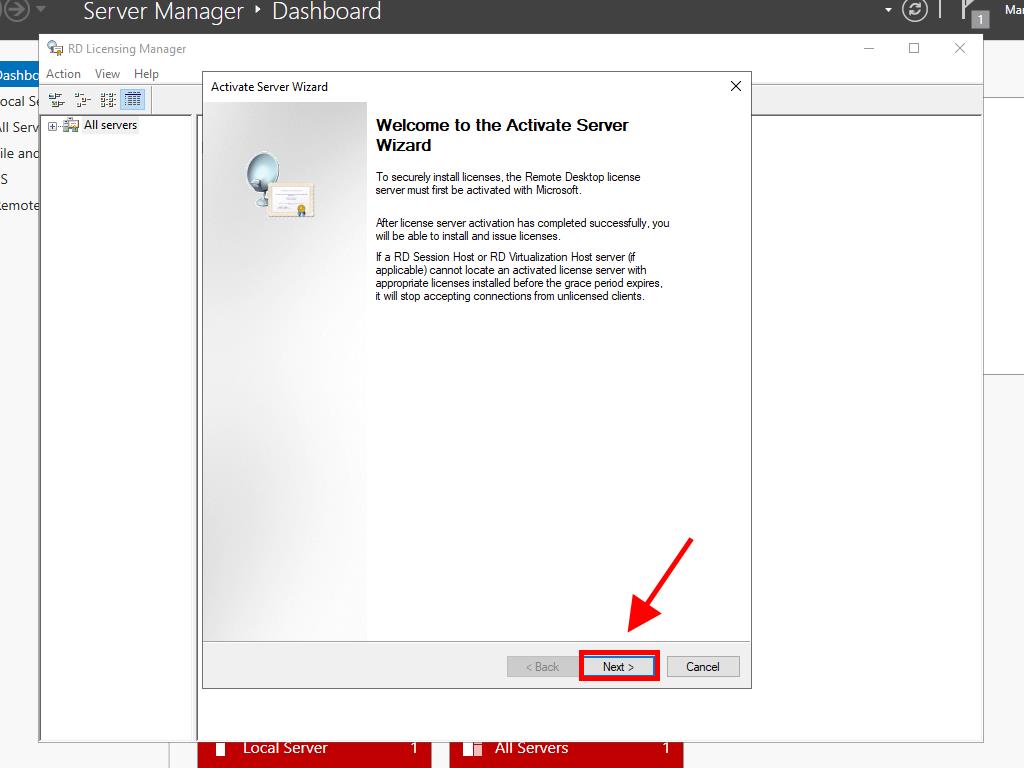
- You'll be prompted by the server activation wizard. Click Next.
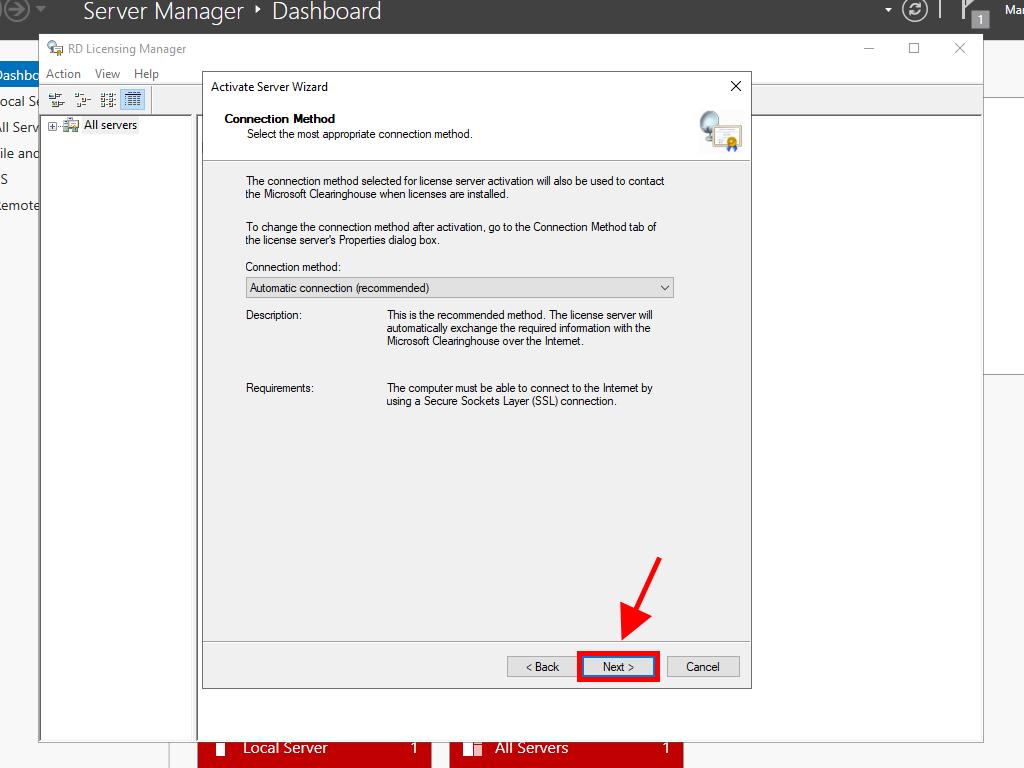
- Select the automatic connection method and hit Next.
- Fill in the required details (first name, last name, region, and company name). Click Next.
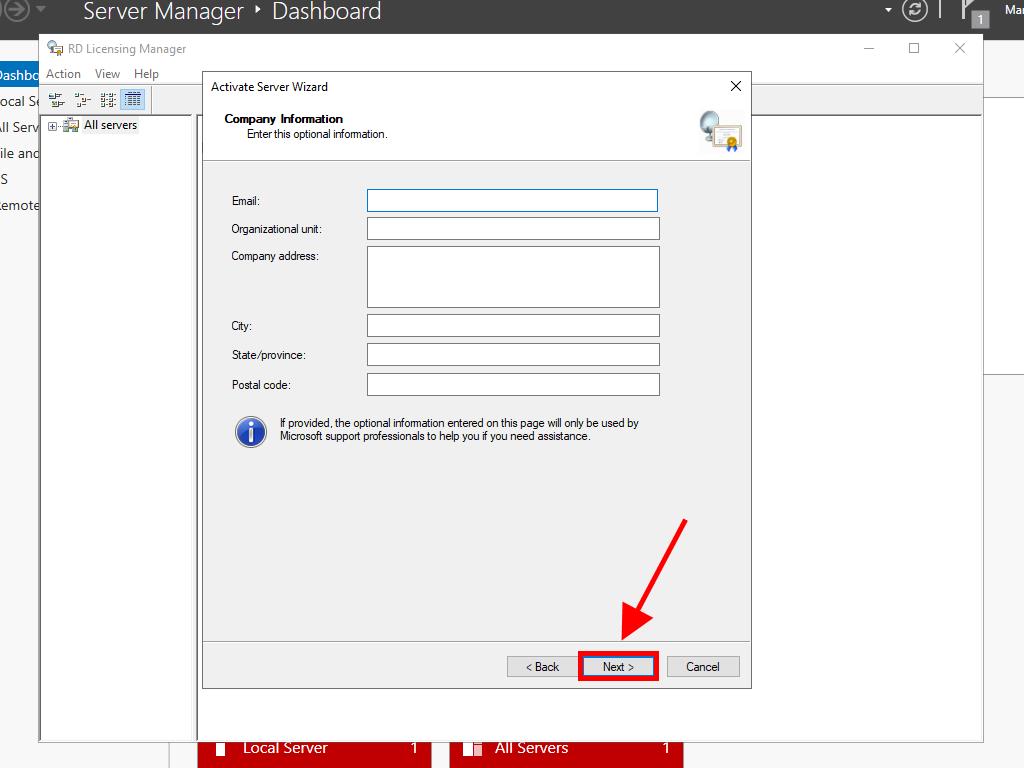
- Enter the company's information and click Next.
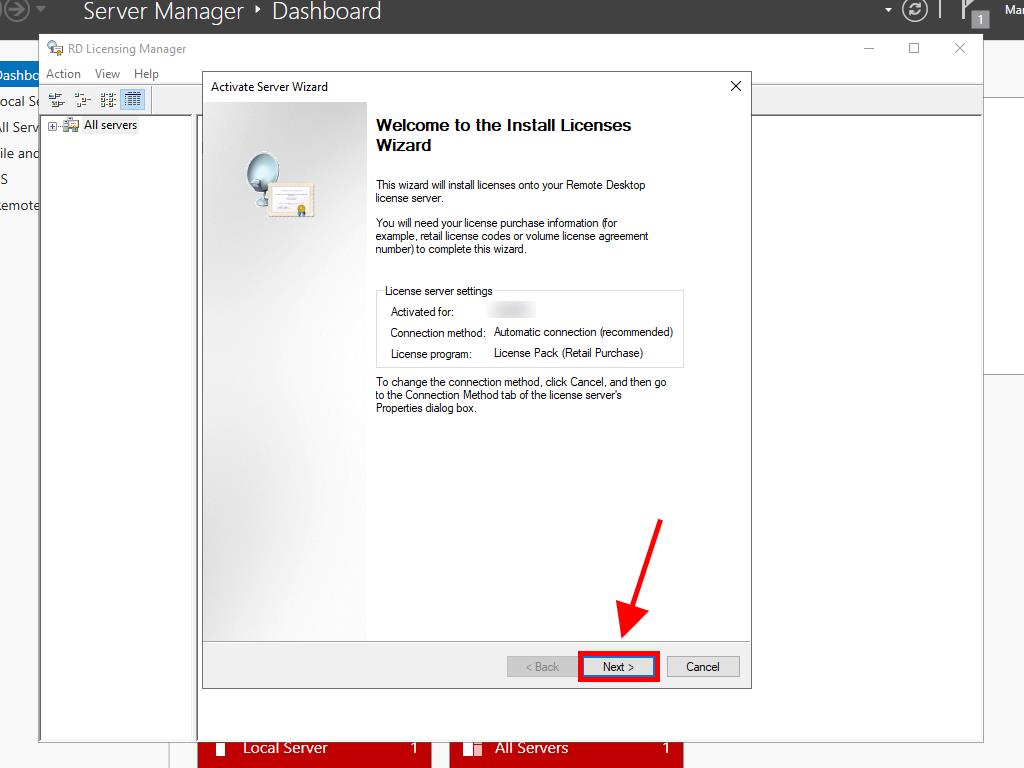
- The server activation wizard will appear once more. Click Next.
- Review the server setup information, then click Next.
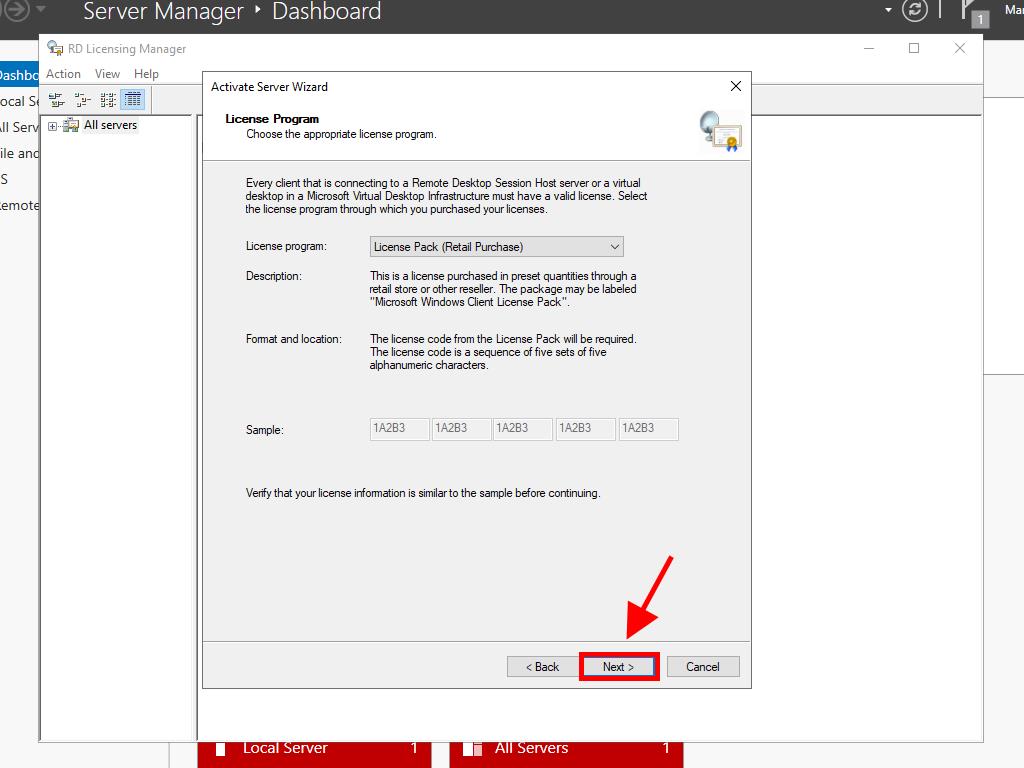
- Under License Program, choose Lic. Pack. (Box or pre-packaged product) and click Next.
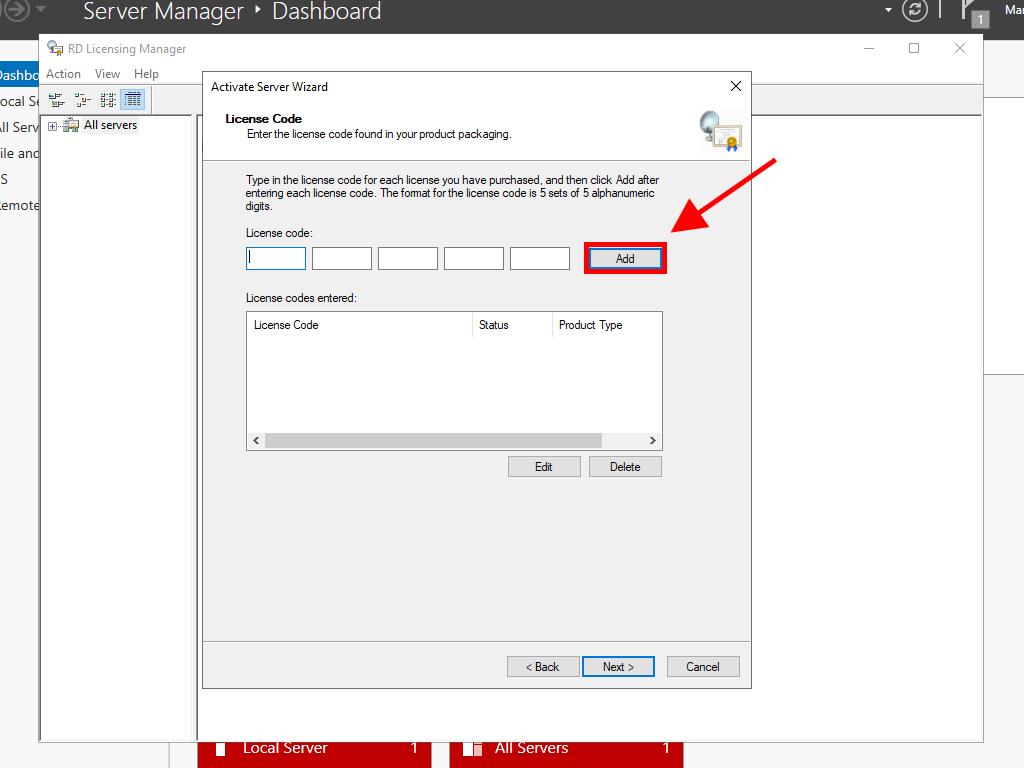
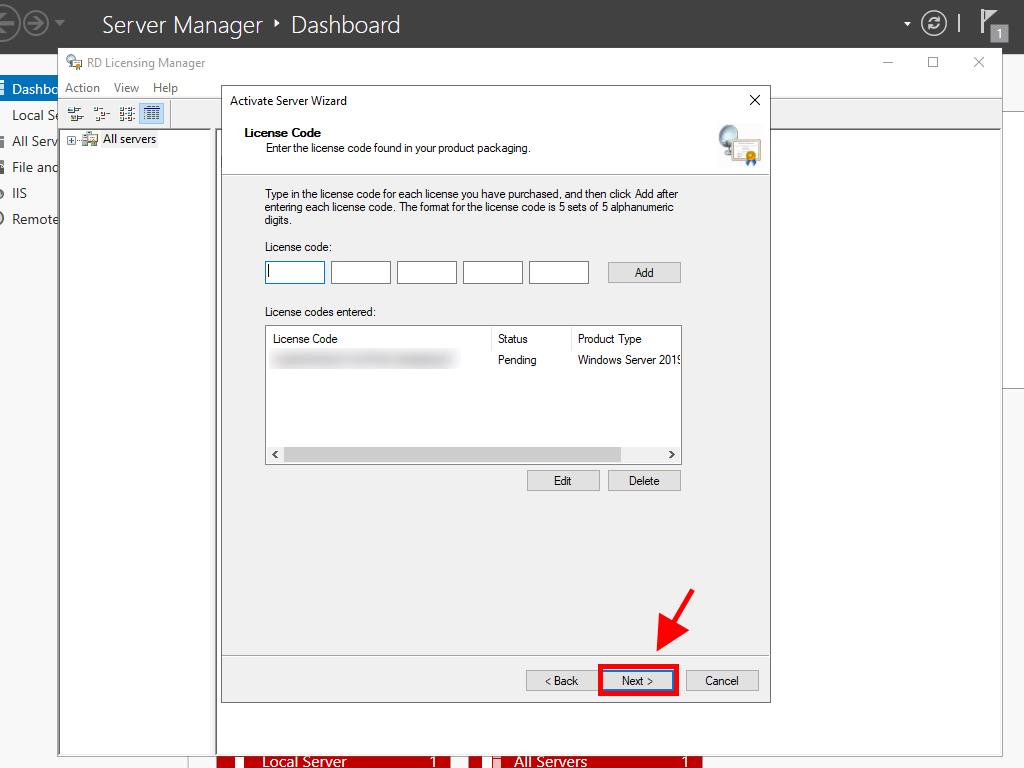
- Input your RDS CALs product key, then click Add.
- After the licence is verified, proceed by clicking Next.
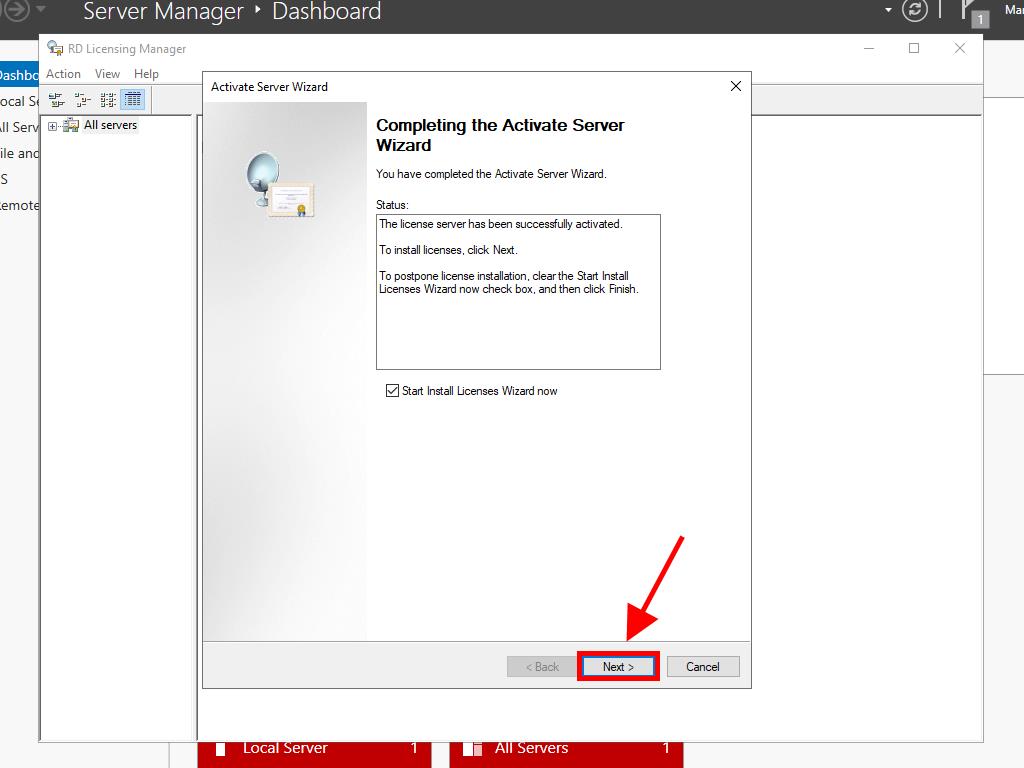
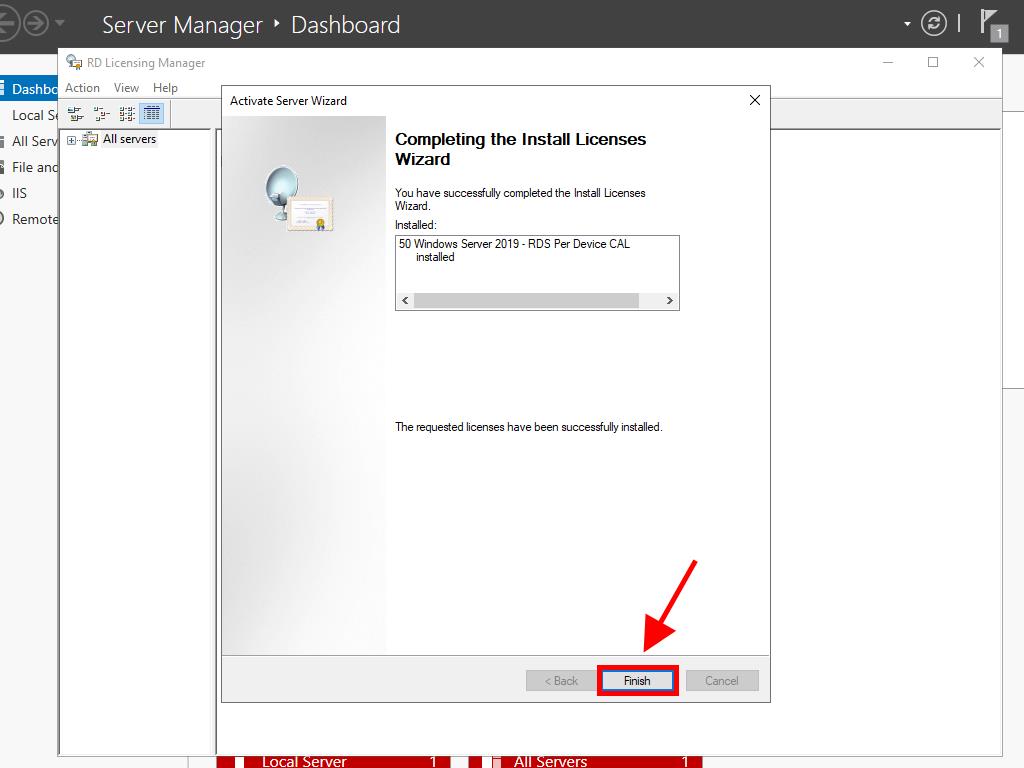
- The Licence Installation Wizard will confirm a successful installation. Click Finish.
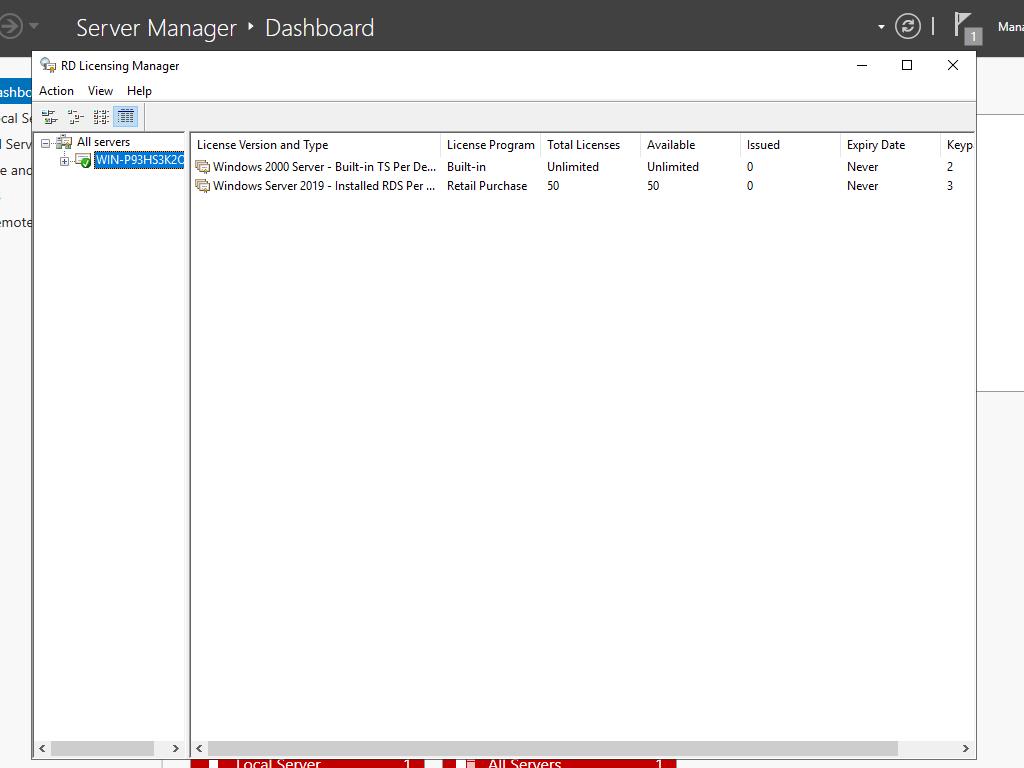
- Your licensing server is now ready to manage licences. Check the server name to see available and issued licences, which should initially be zero.