How to Perform a Clean Install of Windows Server 2022
After making a bootable USB drive, follow these steps for a fresh installation:
- Power on your server so Windows starts normally; insert the Windows Server USB, then restart the server.
- Your device will boot from the Windows Server USB. Press any key when the message Press any key to boot from CD or DVD appears.
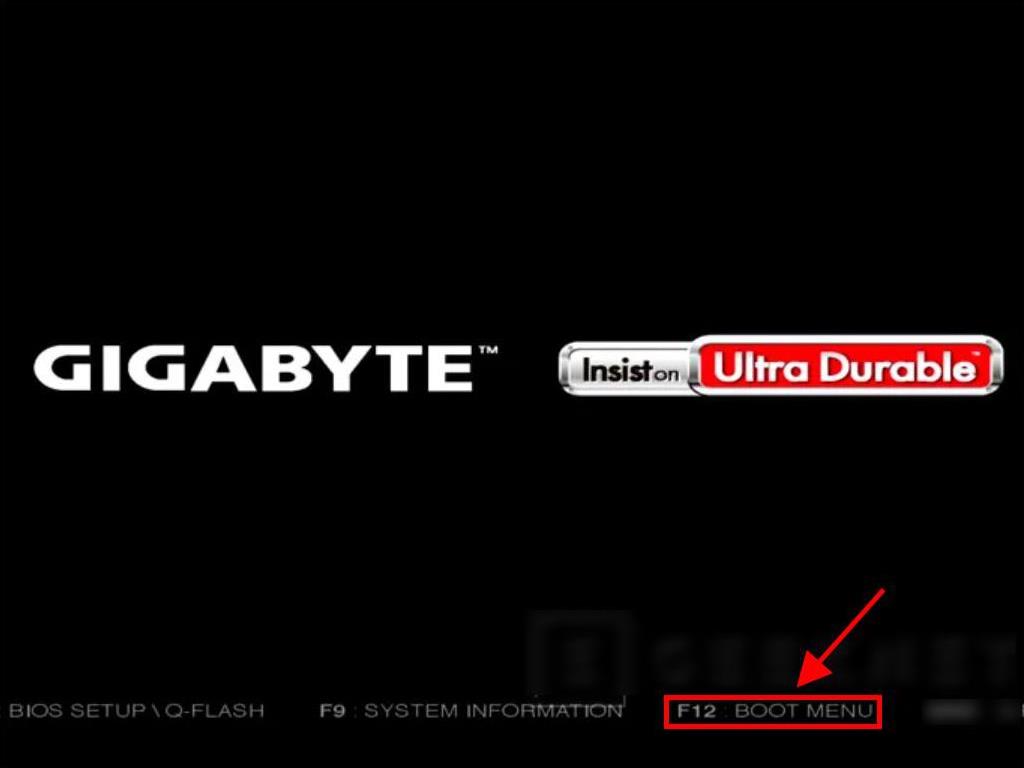
- Restart your PC, and when the manufacturer's logo appears, look for the boot menu key, usually F2, F10, F11, F12 or Del, to open the menu.
- Change the boot order to USB.
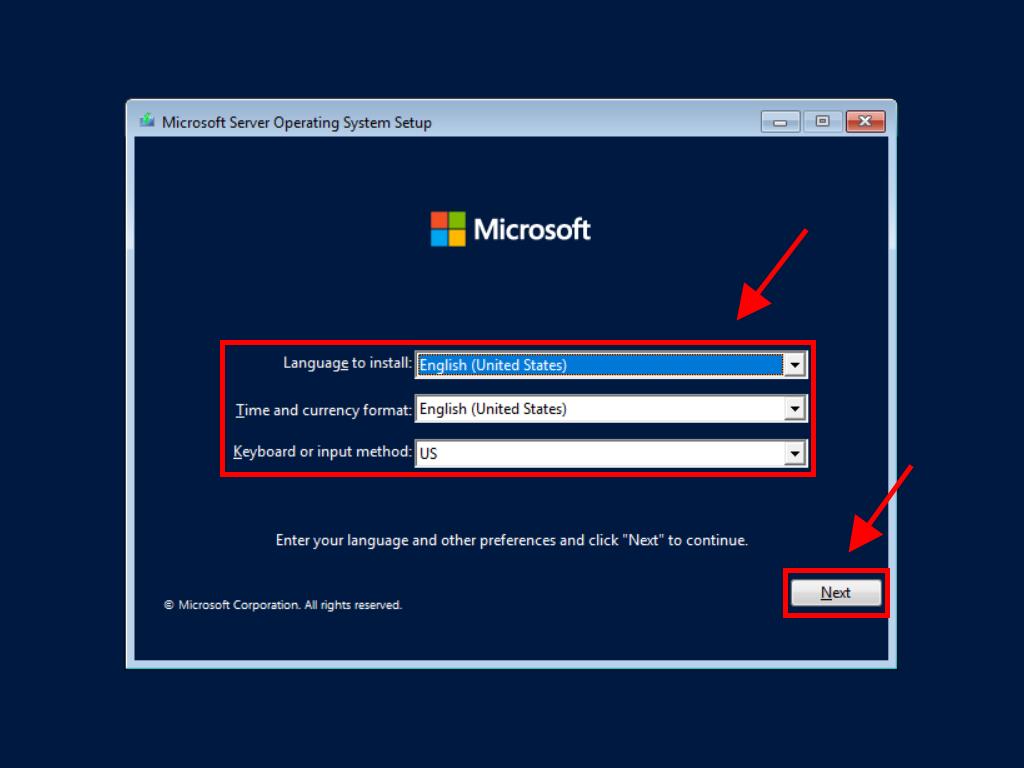
- Once you're in the setup programme, choose your language, time format, currency and keyboard or input method, and click on Next.
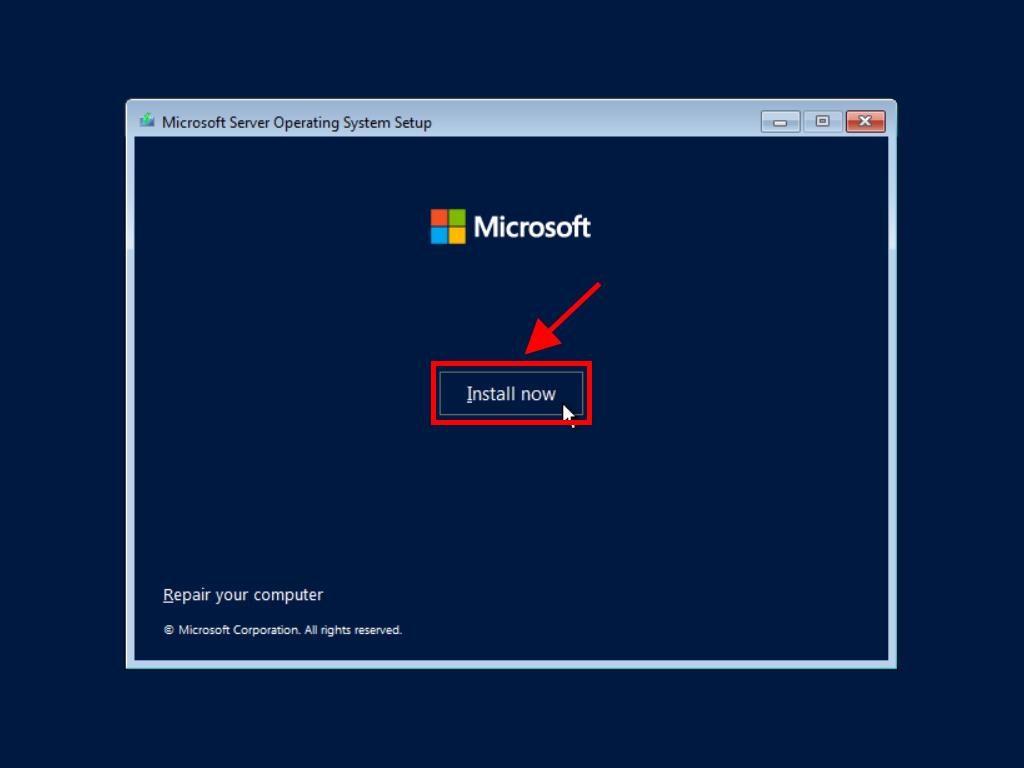
- Then, click on Install now to start the installation process.
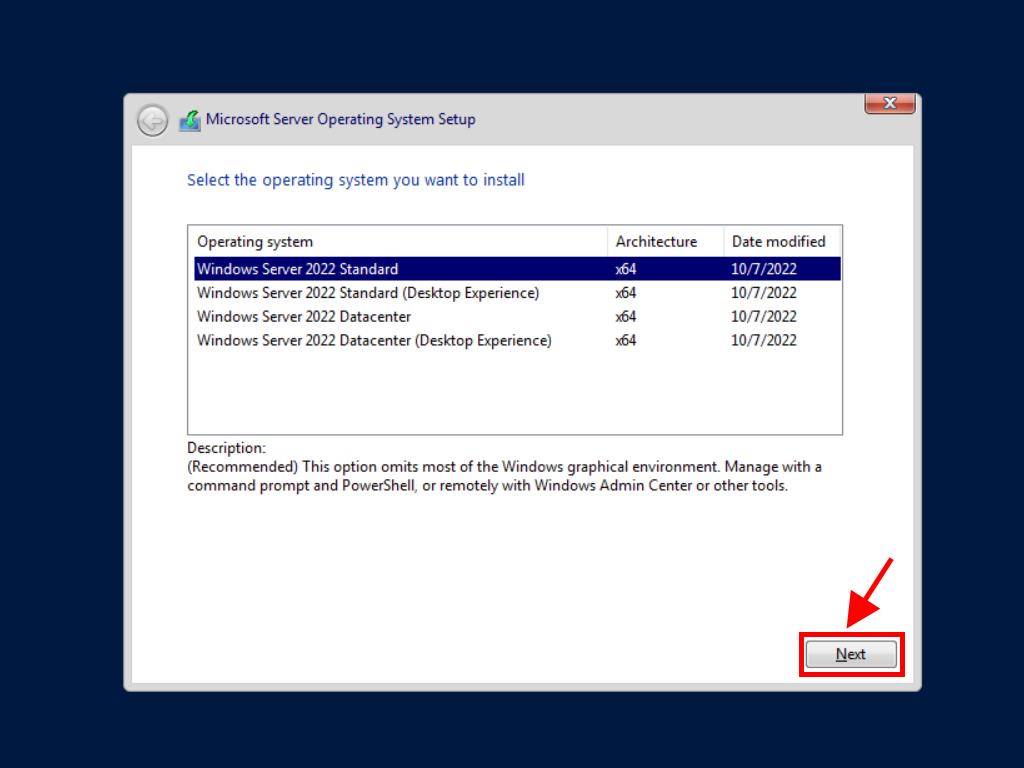
- Next, select the Server edition you want to install and click on Next.
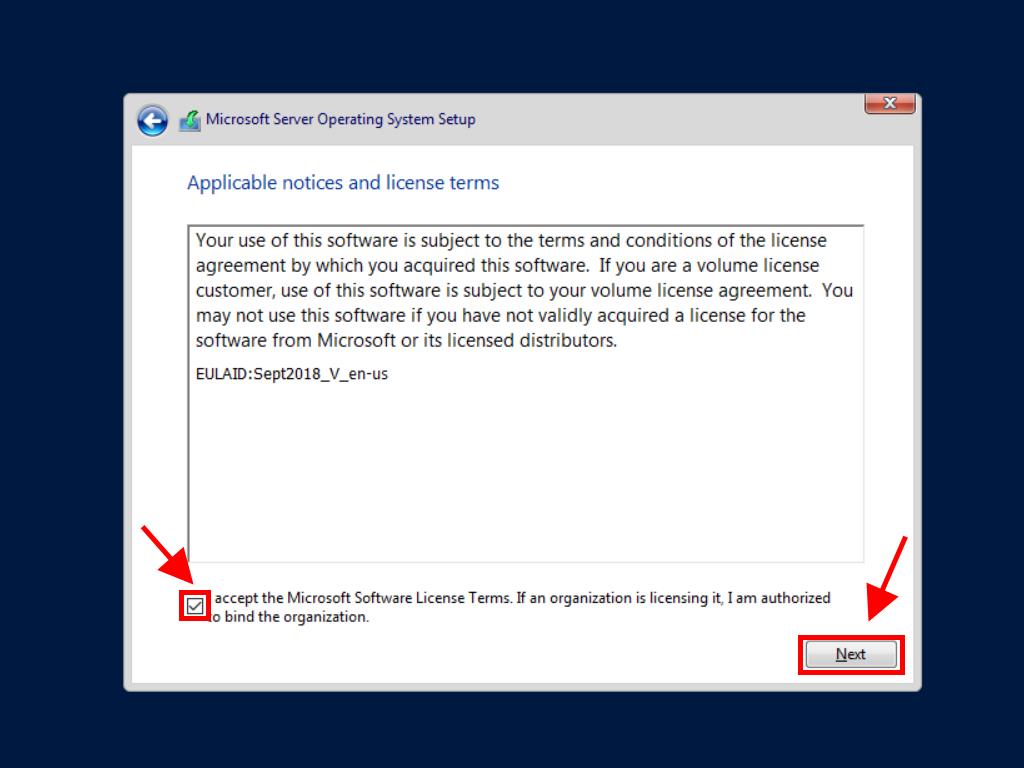
- In the following box, accept the terms and conditions and click on Next.
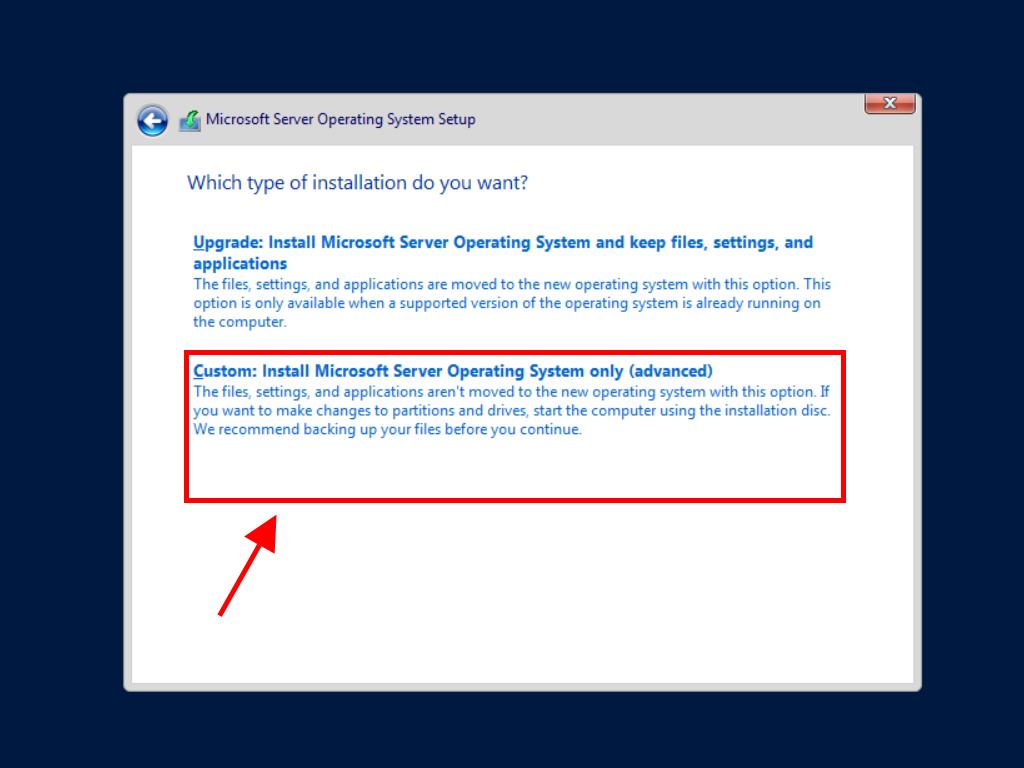
- In the next step, click on Custom: Install Microsoft Server Operating System only (advanced).
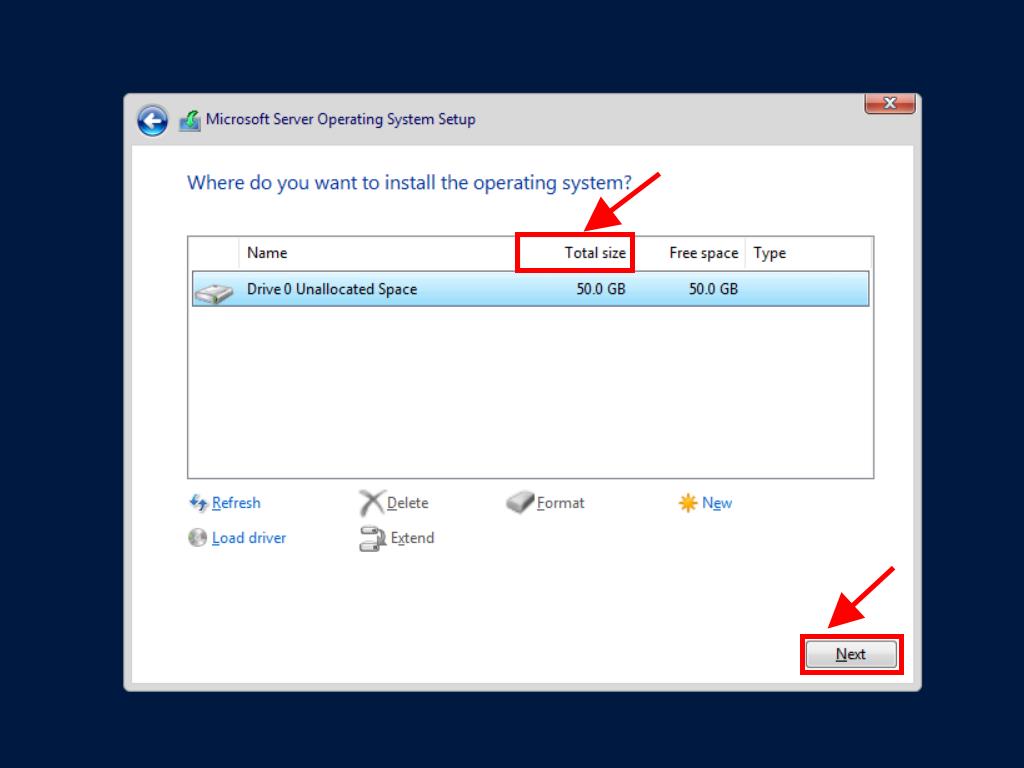
- In the following box, select the hard drive where you want to install Windows Server and click on Next.
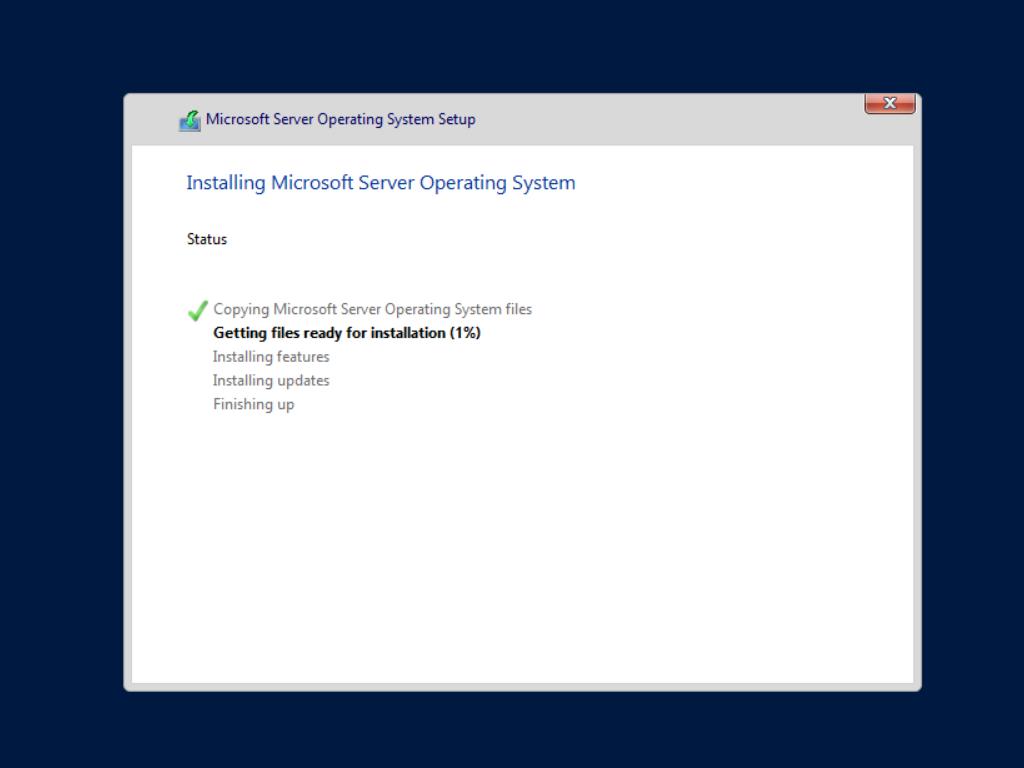
- The installation of Windows Server will begin. It will take a few minutes.
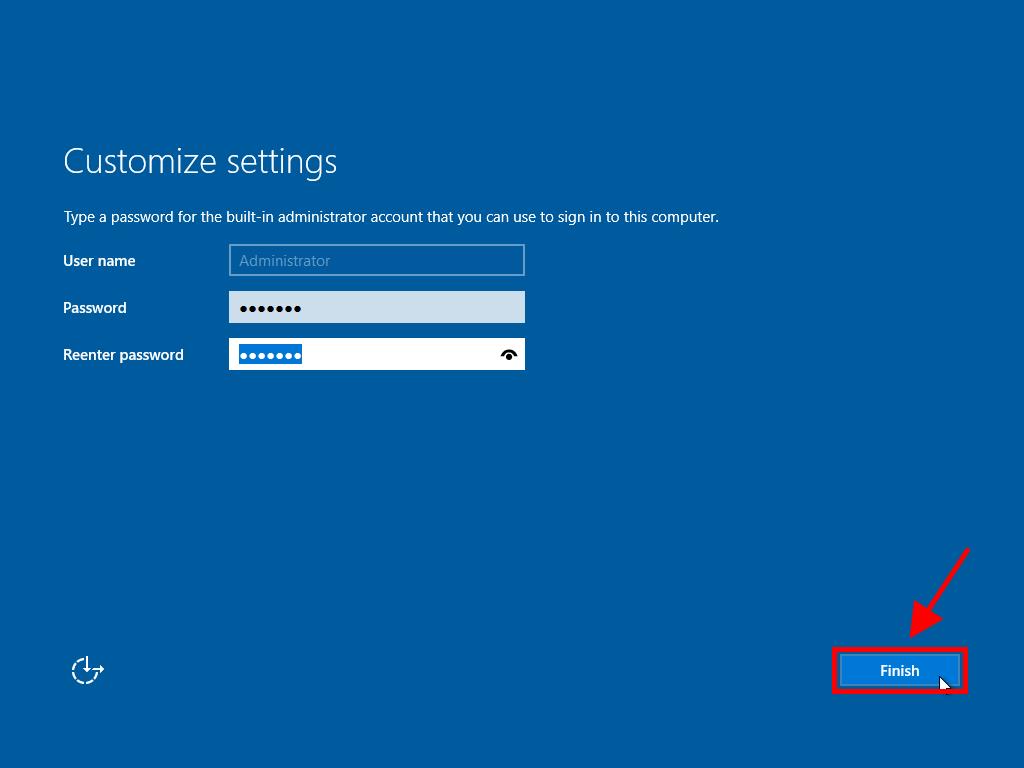
- Next, enter a password that's easy to remember and click on Finish.
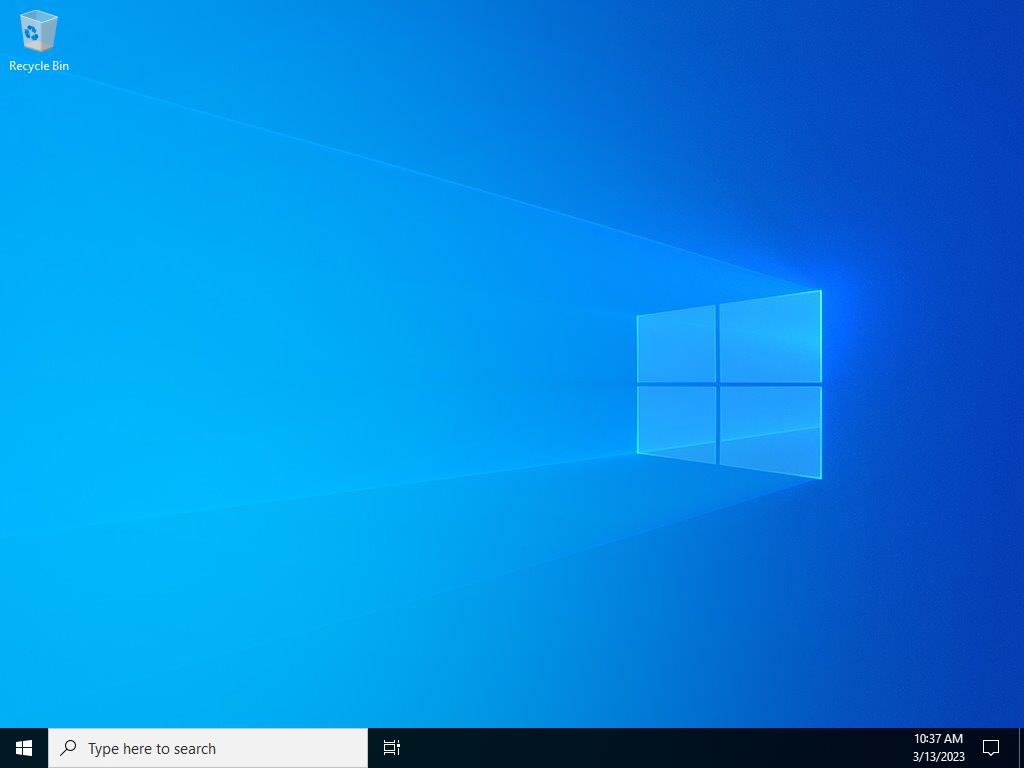
- Then, press the Ctrl+Alt+Del keys and enter the password you initially set. Your Windows Server desktop will appear.
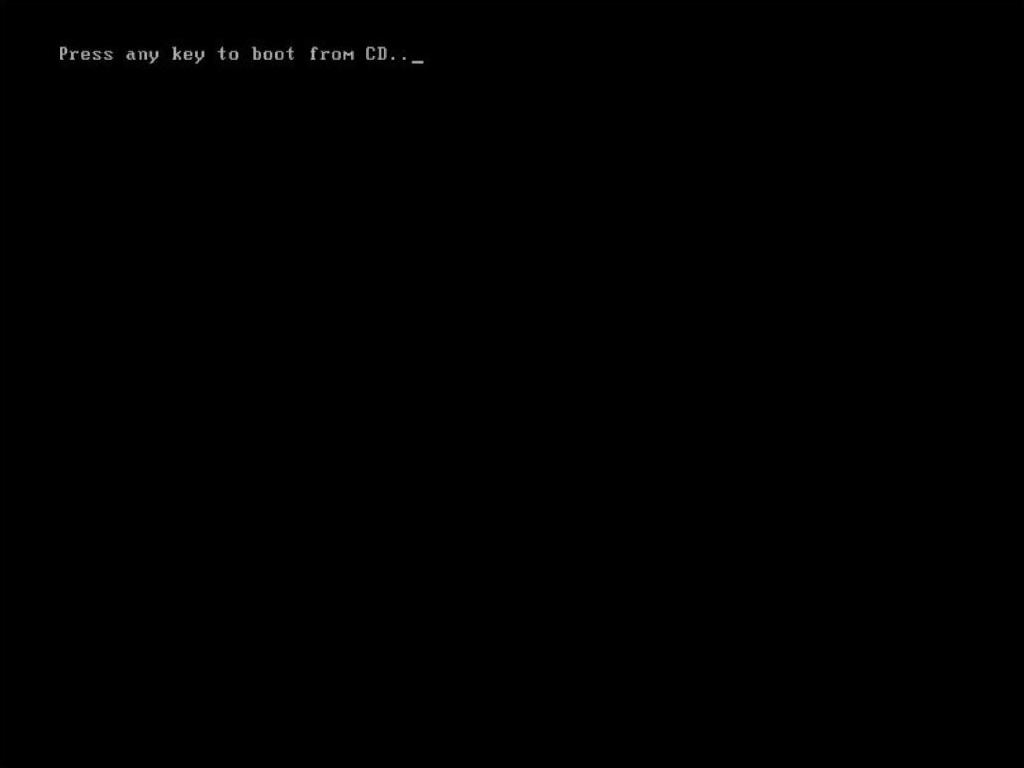
Note: If your PC restarts and the Windows Server installation doesn't begin, you'll need to change the boot order in your PC's BIOS settings to boot from the USB.
Note: We recommend deleting all hard drive partitions for proper Windows Server operation. If your hard drive is new, just click next.
 Sign In / Sign Up
 Orders
 Product Keys
 Downloads

 Go to notfound